

I have been working on a burial urn for a gentleman the last few months. These are particularly difficult due to the double lid fit. The idea behind the lid fit in this manner is to allow the information like name and dates to be protected by the outer when buried in a vault.
Even though glaze should hold up indefinitely, I believe the extra protection is warranted.
This particular piece is interesting because it is to be large enough to hold the ashes of his 3 dogs also. This presented a bit of a problem. . . how do you figure the volume needed for such an urn?
Thankfully, I found this link that allows one to figure the size of an urn based on the weight of the individual to be buried in it. http://www.mainelyurns.com/what-size-cremation-urn.html
So I figured the man at 200 pounds, and each dog at 100=500 pounds. The conversion utility shows this to be 500 cu. inches, or 34.6 cups of water. Easy way to judge the size of a pot after glaze firing. However, how do you figure the size before glaze firing or as a freshly thrown pot? Add the amount of shrinkage for your clay, or multiply by 1.x where x equals your clay shrinkage factor. I usually add 1-2% more above the clay shrinkage factor..


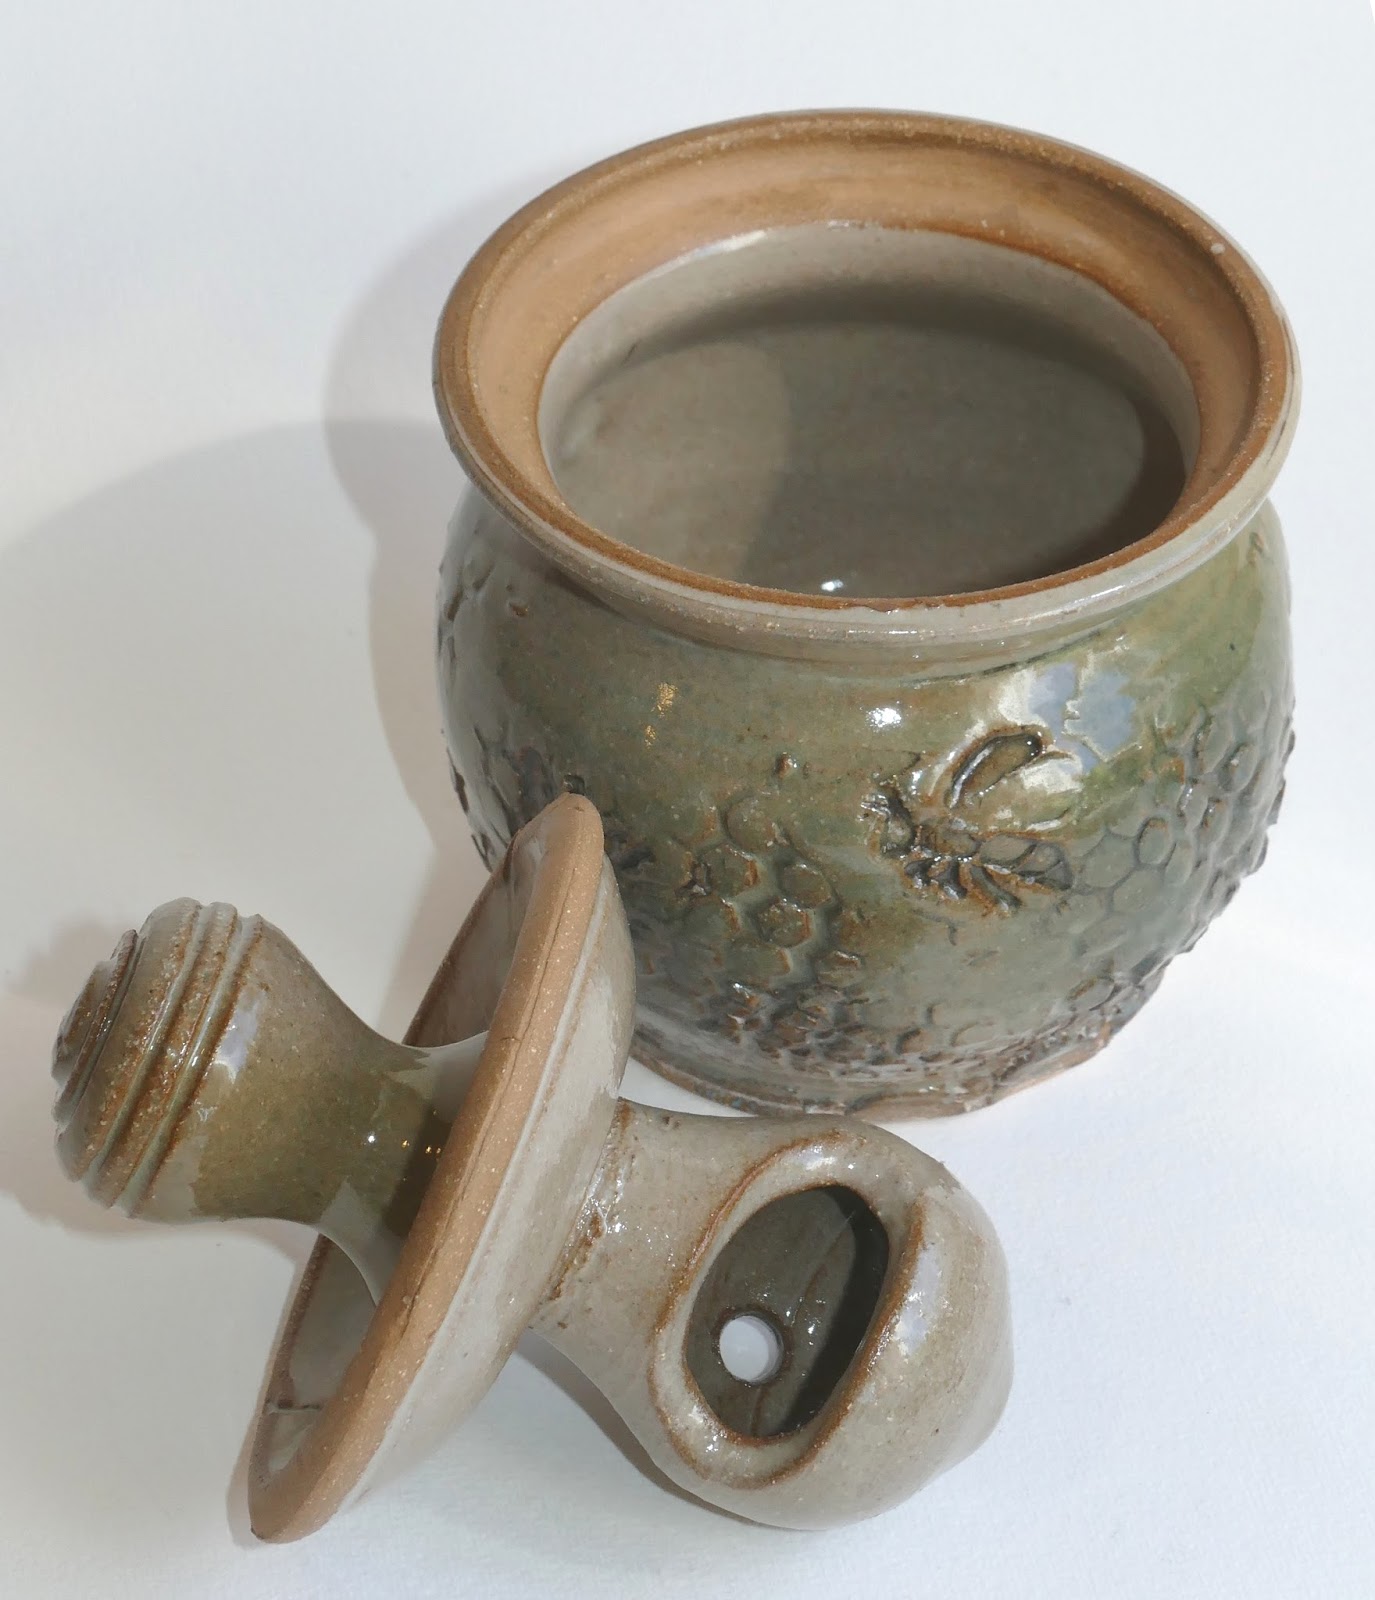 Some of the last forms in this last load included Honey Jars. Years ago, when doing Honey Jars, I thought about doing the standard jar with the hole in the lid, and the wooden swiggle to dribble on the honey. However, upon thinking more about the idea of honey, with an open hole, often having it outside with bugs, and the thought of bugs in my honey, I decided to try something different. So these are the latest in a long line of Honey Jars.
The picture at the right shows how the lid has a stem attached that acts as a spoon, with a hole in the back side to drizzle the honey out of the hole. This does present some problems for the potter, in firing, but the simplest solution for firing the lid/spoon is to fire it upside down on the pot. This works quite well.


Glazing again is done with the base white liner glaze and sprayed on glazes over top.

This