Sunday, October 25, 2015

Teapots, Once More

     Teapots have always been a test of my skills as a potter. In the beginning it was about making a teapot where they would look good without any flaws in the construction, and the lid would fit, the handle worked well, and the pot would not be overly heavy when full of tea. As time went on it became a matter of getting that spout to pour well, without dribbling, or spraying tea in a shower storm or without leaving a lot of drip when done pouring. Eventually, I got to the point where the teapots poured pretty well and all things worked.

Teapots have so much of a presence in literature and popular entertainment with personification and animation. How could anyone forget the animated teapots in Beauty and the Beast or Alice in Wonderland. Some of the ways of late that I have been altering the pot form with pressed decoration before shaping and cutting and reassembling the pot before adding spout has lead me to a more whimsical approach to the teapot, as can be witnessed in most of these.


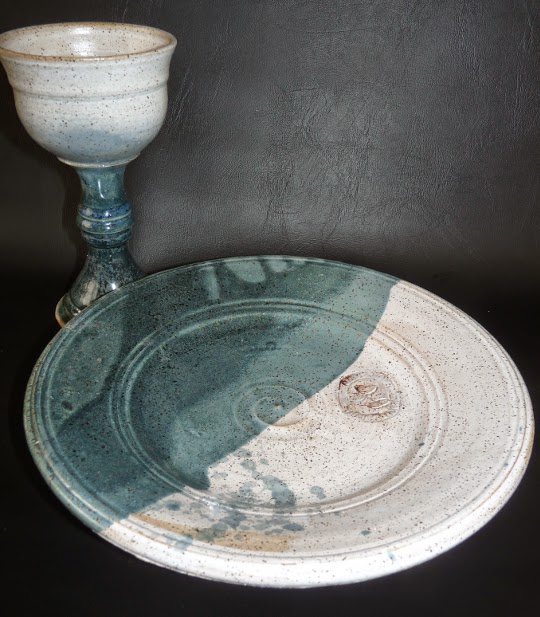
I have included still images of these pots for those of you who do not want to download or wait for video,I can understand. However a video is a great way to see all of the pot.
This first piece is from an earlier load this Summer. The rest are from a load that came out on the 22nd of October.


This teapot is using pulled handle for the lid, and the body with no alteration. The neck of the pot was cut in a manner similar to those done in an earlier blog post that also shows the technique for altering the neck angle.

These pieces from the last load, are darker than what I would have liked originally, but the colors are rich, even and quite deep. The load over fired to cone 7 where I usually fire to cone 6. That is a 31F. degree difference, which in pottery is a lot. In this case though I was lucky, it worked out.


This is the only teapot without an altered neck in this batch. Decoration is done on the body with stamps before shaping.


I was throwing a series of mugs in early August that used a silicone hot bad that had a hexagonal texture on the surface with a hole for hanging. I had been experimenting with techniques to loosen up my forms. Pressing the hot pad into the cylinder before shaping warped the cylinder and gave me a nice surface texture that got distorted when shaping the mug. So I decided to try it for the teapots. This is one of the first with texture on the body, and pressed into the lid handle after pulling it.


That process led me to the following form with the whimsical alligator on the top of the pot. Lots of fun, with the texture from the hot pad on the body of the pot, the handle of the pot and the tail/handle on the lid.


I thought that the lid deserved a close up photo, and I was quite happy the way he turned out.


All of these pots pour very well, the handles are comfortable, the lids fit well, and have vapor lock release holes. The also have provisions to hold the lid on when pouring. Some of them also have a front tab to aid in balance while pouring. However, it is not really needed.

Aesthetically, I could go on with a lot of garble art talk about why and how that means little to so many. I will say that I like the use of the rubber stamps and the silicone texture before shaping. This texture then becomes stretched and distorted interestingly as the pot is shaped by only the movement of the hand inside. It takes a little practice, to not press so hard as to cause a hole when shaping. It also limits to some degree the amount of  volume you can add to the cylinder in the shaping process, again to not rip through the form with the texture. I do not like the idea of the texture over the entire form, it needs visual rest areas.

Saturday, May 2, 2015

Recent work & Packing and Mailing Communion Sets

 It has been a long Winter here in Central Pennsylvania, with lots of snow, ice and cold to keep me from working in a garage heated by an electric heater. Electric bills are just to high to justify much time in the Winter. We had a break in this weather a few weeks ago, and as I had orders to get ready for shipping, time to work.

I had several pieces that had not been glaze fired, so I started work with some glazing of mugs, bowls and Communion Sets. I have not been entirely happy with the glazes that I have been working with, especially the white, as it never seemed to fit the pots right with some pinholing and other problems. So I have added a new white glaze, and a blue green glaze. I have also started working with a glaze program called Insight(Level 2) to help me understand more about my glazes, and modify intelligently the ones I am using.

 So here you will find some of the new Communion sets, and other items from the first load.
Many of my glazes were from Bill Van Gilder, a prolific potter that has been generous enough to post and publish his glazes online and in some books.
Cream Rust on the first coat is a Cinnamon brown, and  on the second coat is a creamy beige.


The pots above have been glazed with Cream Rust of his, and the new white based on a glaze from Mastering Cone 6 Glazes by John Hesselberth & Ron Roy. The glaze is Glossy Base #1, with an addition of 4% zircopax, and 4% tin oxide

The pots to the rt have used the same glazes with the addition of Caribbean Green, from the Mastering Cone 6 Glazes book.
 On the left the new white and the Caribbean Green.


The bowl below is using Rutile green from Van Gilder, and the new white and the Caribbean Green along with the Cream Rust. The mug next to it for size comparison is using the same combinations.


Over the years, I have several occasions to discuss how I packed the Communion sets for shipping. As I seem to be doing something different in the way of shipping, I will elaborate a bit here. Below are series of images that show the box getting prepared for shipping.
Bubble wrapped paten upside down on 3" layer of popcorn


The popcorn, Yes, popcorn is falling into the box from the dry popper.
When you compare the cost of Styrofoam  beads to the cost of popcorn, you will be astounded how expensive the beads are. True, the electric for popping is still a factor, but in the long run popcorn is cheaper. I will not send anything overseas in popcorn, but in the States arrival is within 3-7 days so nothing is a problem.
Chalice added after 4" of popcorn


No I do not double box the pots. I use 14"X14" boxes, and make certain the pots are wrapped with a layer of good bubble wrap for cushioning, and pack my boxes full.
Box nearly full, but popcorn will be added until doming 3" above box


The final secret to doing this well is compression. The box at the left many people would believe is sufficient to close up and tape closed and ship. I still will add at least two more loads of popcorn from the popper to fill that until it is peaked above the edge of the fold line on the box at least 3".


Box compressed, taped with mailing labels


I use USPS for my shipping, not any of the other shippers out there for basic reasons. It supports the post office, which I believe in. The post office is down the block from me-convenient. Sending many pieces out standard and priority are the same price, and priority includes $50 insurance.

In all the years of shipping, excepting the one year my son sent out the orders while I was away, I have lost none of my orders to shipping or damage in the shipping. All have arrived when expected, and in good condition. I don't change anything if it isn't broke!